

Over the years I’ve had a lot of people ask me how to start a blog. Believe it or not, getting your blog up and running is not as hard as you may think! You can start a blog or website in 3 easy steps, and I’ll show you how!
I’ll walk you through the 3 steps one by one, with pictures so you’ll know exactly what to do. By the end of this, you’ll have your own self-hosted blog website on WordPress.
This post contains affiliate links but don’t worry – I’ll only point you to helpful resources that I recommend and use personally.
How to start a blog or website in 3 easy steps
Step 1: Get a Hosting Account
To have a blog or website, you have to “rent” space on the internet. The technical term for this is hosting. I recommend Bluehost because I’ve had a great experience with them for the past 5 years. Bluehost is the #1 recommended web hosting by WordPress.org. Over 2 million websites worldwide use Bluehost which makes them one of the most popular and affordable options. Every account features 1-click WordPress installation. Whether you are an experienced or a new blogger Bluehost will accommodate!


Click the “get started now” button (see above). Select a hosting plan that fits your needs. If you’re just starting out, I recommend the basic plan. You can always upgrade it to the Prime or Pro plan when you’re ready for more resources.


Step 2: Domain Name


Type your domain name with this nifty Domain Name box to see if it’s available. If you already have a domain name, type it in the “i have a domain name” step. Bluehost is generous enough to throw in a FREE domain name for every new hosting account created.
The next step is to fill out your account and billing information.


Review the package information below and decide what term/add-ons are desired. The biggest bang for your buck is on the 60-month term, but you can choose 36 months, 24 months or 12 months. Keep in mind that Bluehost will charge you upfront for the entire term.


Package Extras – Add-Ons


Insert payment information and accept the terms.


Congrats, your hosting account has been created! Bluehost will send you a welcome email confirming account and FTP information.


Create your password. Make sure to review the requirements for creating the password. If you need help you can always click the “Suggest Password” option. Regardless, I recommend notating it just to be safe. You’ll end up needing it later on.


Go ahead and login and start getting familiar with your new Bluehost account.

Step 3: WordPress
Thanks to Bluehost, after your hosting account has been created WordPress will automatically install. Start off by picking a theme, these are all free themes from WordPress.org. You can always update your theme later.


Now that you’ve picked your theme, let’s jump into WordPress and get you even closer to constructing that first blog post.


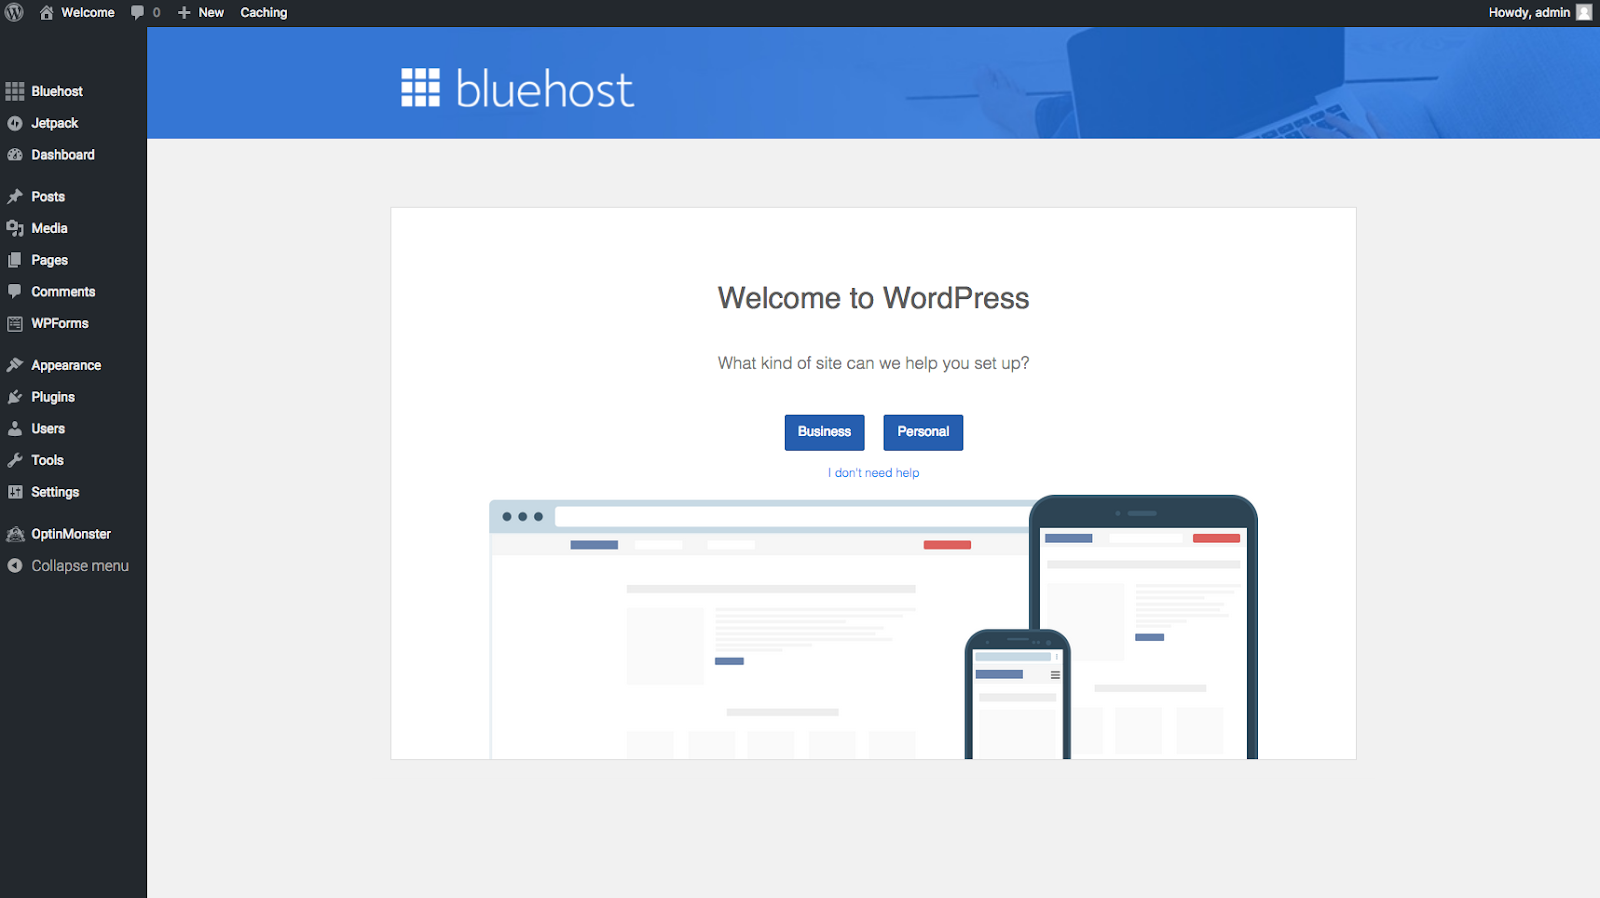
Decide whether this site will be for business or personal use.

On this step, you’ll see an overview of Bluehost+WordPress integration. You can manage WordPress plugins and blog posts or pages here.


Decide on a site title and description here.


Here’s a revamped dashboard of the Bluehost control panel.


Now you can make your site look how you want! Since you are using WordPress the sky’s the limit!
Start Publishing
Congratulations! Your blog is up and running! Now comes the fun part – publish your first blog post!
I hope this tutorial was helpful for you! If at any point you get stuck and you’re not sure what to do, you can always contact Bluehost customer service and they should be able to walk you through any issues you may be having.